Build SMS into a Next.js app with AI
AI coding tools such as Claude Code, Codex, Cursor and Bolt can now build a surprising amount of an application for you.
But sooner or later, that application needs to do something in the real world.
Send an order confirmation. Tell a customer their delivery is on its way. Notify someone that stock is available. Receive an SMS reply. Handle an opt-out.
That's where your AI coding assistant needs a messaging API it can understand and implement correctly.
In this guide, we'll build a simple ecommerce messaging workflow using:
Next.js for the application
Supabase for customer, consent and order data
Stripe for payments
Kudosity for SMS
Claude Code, Codex, Cursor, Bolt or another AI coding assistant to help build the integration
You don't need to put an autonomous AI agent into production to benefit from AI-assisted development.
Your AI assistant can build the integration while the finished application continues to use normal API calls, database rules and webhooks.
This is already how customers are building
This isn't just a hypothetical development pattern.
In our early conversations with customers building Kudosity integrations with AI tools, we've seen developers use tools such as Bolt to get an application started and Claude Code to finish it. We've also seen production workers built with Claude and Codex running scheduled messaging workflows for months.
One technology keeps appearing in these newer builds in particular: Supabase Edge Functions.
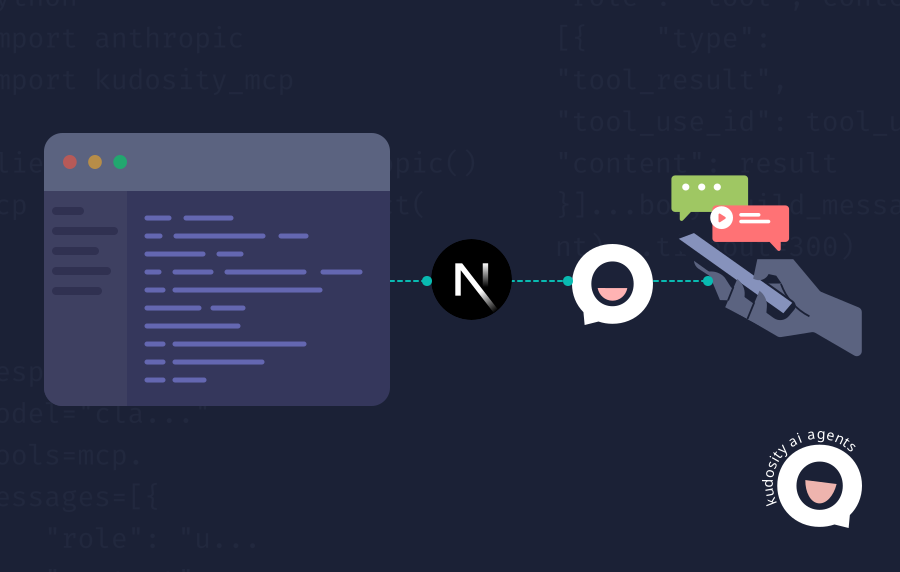
That's useful because it gives us a simple architecture for this example:
Customer
   │
   ▼
Next.js application
   │
   ├──────────────► Supabase
   │                  ├── customers
   │                  ├── consent
   │                  ├── orders
   │                  └── Edge Functions
   │
   ├──────────────► Stripe
   │                  └── payment events
   │
   └──────────────► Kudosity
                      ├── send SMS
                      ├── delivery status
                      ├── inbound replies
                      └── opt-outs
The application owns the business logic.
Kudosity owns messaging.
And your AI coding assistant helps connect the pieces.
What we're building
Imagine a small online store selling a seasonal product.
Customers can:
Register their mobile number to be notified when stock becomes available.
Place an order when the product is available.
Receive SMS updates about their order.
Reply to messages where appropriate.
Unsubscribe from promotional messages.
There are two different messaging workflows here.
Transactional SMS
These are triggered by something the customer has done:
Thanks! We've received order #1042. We'll text you again when it's ready for pickup.
Marketing SMS
These go only to people who have asked to receive them:
Fresh stock is available now. Order online while this week's supply lasts.
Keeping those workflows separate makes your application easier to reason about and makes consent easier to manage.
Step 1: Give your AI assistant the real API
You could ask an AI coding assistant to:
Add SMS to my application.
It might produce perfectly good code.
It might also use an old endpoint, assume the wrong authentication scheme, copy a pattern from another SMS provider or invent a parameter that doesn't exist.
A better approach is to give the coding assistant access to the messaging platform it's actually implementing.
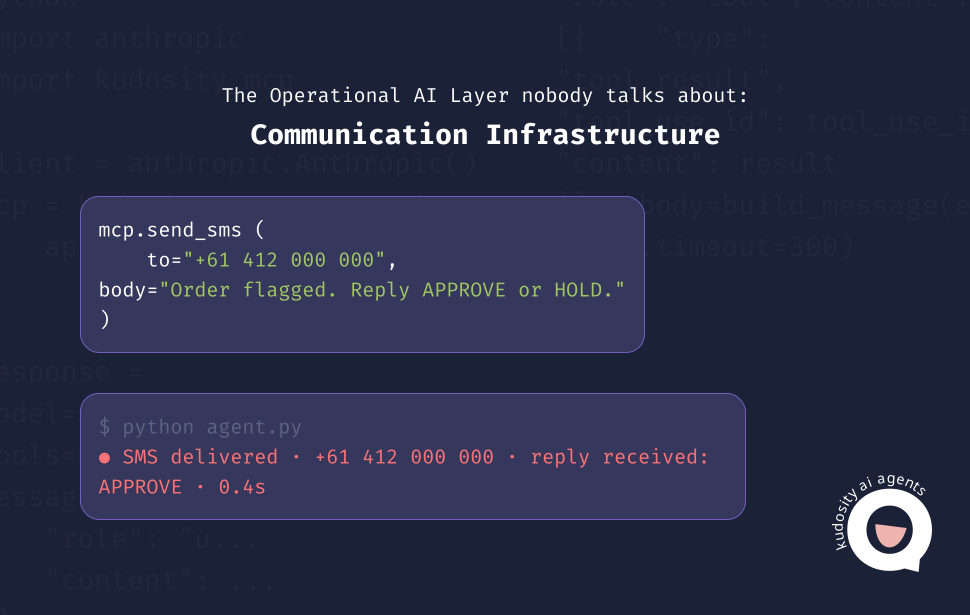
Kudosity provides a Model Context Protocol server that gives compatible assistants messaging tools and access to the current API specifications.
Start with the Kudosity MCP Server guide.
The installable MCP server exposes native tools for sending messages, managing contacts and webhooks, checking messaging results and discovering the API. Its API-discovery tools read the live OpenAPI specifications rather than relying on a static description of the API.
If you're starting from scratch, use the Getting started with AI guide.
It walks an AI assistant through connecting to Kudosity and checking its setup before making changes or sending messages.
Then try the first message with your AI assistant walkthrough, which takes you through preparing, approving and checking a real test SMS.
Step 2: Give the assistant the application context
Once the assistant understands the messaging API, tell it what you're actually building.
For example:
I'm building a Next.js ecommerce application:
Supabase stores customers, SMS consent and orders.
Stripe handles purchases.
Customers can separately opt in to receive SMS notifications when products become available.
Add Kudosity SMS for:
An order confirmation after successful payment.
A message when the order is ready.
Availability messages only for customers with marketing consent.
Delivery status tracking.
Inbound SMS replies.
Opt-outs.
Use Supabase Edge Functions for server-side messaging logic.
Keep transactional and marketing messaging separate.
Add protection against duplicate sends and automated reply loops.
Record failed and rejected sends so they can't silently continue.
Use the current Kudosity documentation.
Don't invent endpoints or parameters.
Keep credentials in environment variables.
Notice that this prompt describes business behaviour, not just code.
The AI can discover how to call the API. You're telling it what your application is allowed to do with that API.
Step 3: Store consent as real application data
Don't make phone_number do two jobs.
A customer giving you a phone number to fulfil an order is different from a customer asking you to send future promotional SMS.
A simple Supabase model could look like:
create table customers (

  id uuid primary key default gen_random_uuid(),

  phone text not null,

  sms_marketing_consent boolean not null default false,

  sms_marketing_consented_at timestamptz,

  sms_marketing_opted_out_at timestamptz

);

create table orders (

  id uuid primary key default gen_random_uuid(),

  customer_id uuid references customers(id),

  status text not null,

  stripe_payment_id text,

  created_at timestamptz not null default now()

);
Your signup form might say:
Mobile number
☐ Text me when new stock becomes available.
You can unsubscribe at any time.
For Australian marketing messages, ACMA says businesses need consent, need to identify themselves and need to provide an easy way to unsubscribe. It also recommends keeping evidence of who consented, when and how. Importantly, someone simply buying something from you doesn't automatically create inferred consent for future marketing.
See ACMA's guidance on sending commercial messages for the current requirements.
Step 4: Put messaging behind a Supabase Edge Function
You don't want API credentials in the browser.
Instead, put the messaging request behind server-side code such as a Supabase Edge Function.
At its simplest, the actual Kudosity call is just an HTTP request:
const apiKey = Deno.env.get("KUDOSITY_API_KEY");

const sender = Deno.env.get("KUDOSITY_SMS_SENDER");

async function sendSms(

  recipient: string,

  message: string,

  messageRef: string

) {

  const response = await fetch(

    "https://api.transmitmessage.com/v2/sms",

    {

      method: "POST",

      headers: {

        "Content-Type": "application/json",

        "x-api-key": apiKey!,

      },

      body: JSON.stringify({

        sender,

        recipient,

        message,

        message_ref: messageRef,

      }),

    }

  );

  if (!response.ok) {

    const error = await response.text();

    throw new ErrorSMS failed: ${response.status} ${error});

  }

  return response.json();

}
The current API is documented in the Send SMS reference under POST /v2/sms.
message_ref is particularly useful here because it lets your application attach its own identifier to the SMS:
order-1042-confirmationThat reference comes back in messaging events, making it much easier to associate delivery information with the order that generated the message.
Step 5: Trigger it from a real application event
Now connect messaging to something meaningful.
For example:
Stripe payment succeeds
        │
        ▼
Create/update order in Supabase
        │
        ▼
Call messaging Edge Function
        │
        ▼
POST /v2/sms
        │
        ▼
Customer receives confirmation
Your application might generate:
await sendSms(

  customer.phone,

  Thanks! We've received order #${order.id}. We'll text you when it's ready.,

  order-${order.id}-confirmation

);
The important part isn't the exact code.
It's that Stripe decides whether a payment succeeded, your application decides what that means, and the messaging API sends the resulting notification.
AI helped build the workflow.
AI doesn't need to decide whether someone's credit card payment succeeded.
Step 6: Close the loop with webhooks
A successful API request means your messaging provider accepted the request.
It doesn't necessarily mean the customer's phone received the SMS.
For that, use webhooks.
Kudosity supports messaging events including:
SMS_STATUSSMS_INBOUNDOPT_OUT
An SMS_STATUS event can tell your application whether a message was delivered, failed, soft bounced or hard bounced.
SMS_INBOUND tells you when someone has replied.
OPT_OUT tells you when an unsubscribe event occurs.
See the Create Webhook API reference (POST /v2/webhook ).
Your application could expose:
POST /api/webhooks/kudosityand process events like this:
SMS_STATUS

    │

    └──► update message delivery status

SMS_INBOUND

    │

    └──► store incoming message

          │

          └──► optionally decide whether to send a new reply

OPT_OUT

    │

    └──► sms_marketing_consent = false

         sms_marketing_opted_out_at = now()
There's an important implementation detail here for developers coming from other messaging platforms:
Treat an inbound message as an event.
If the application wants to reply, receive the inbound webhook, run your business logic, and make a new outbound SMS request.
Don't train your AI coding assistant to assume that returning an SMS body directly from the inbound webhook automatically sends the response.
Step 7: Build the availability workflow separately
When products become available, select customers who currently have permission to receive marketing:
select phone

from customers

where sms_marketing_consent = true

  and sms_marketing_opted_out_at is null;
Then send the availability notification.
For example:
Fresh stock is available now.

Order here: example.com/shop

Opt out: [opt-out-link]
The Kudosity V2 SMS endpoint supports an [opt-out-link] placeholder that generates an unsubscribe link when the message is sent. It also supports link tracking.
Keep promotional content out of order confirmations and other transactional messages unless you have the appropriate consent for marketing.
Step 8: Add the guardrails your AI might forget
AI makes integrations much faster to build.
It can also make automation mistakes happen much faster.
Early customer research has already given us a few useful lessons here.
Prevent reply loops
A simple two-way messaging agent can accidentally create this:
Inbound SMS

    ↓

Agent replies

    ↓

Reply creates another event

    ↓

Agent replies again

    ↓
We've seen automated messaging create a reply loop quickly enough to trigger account protection.
Your implementation should therefore have explicit loop controls.
For example:
Don't respond to messages generated by your own workflow.
Don't send more than N automated replies to the same conversation within a defined period.
Stop automation when the intent is unclear.
Escalate rather than repeatedly retrying.
Don't rely on the model to decide this dynamically every time.
Put these limits in application code.
Don't let failures disappear
A scheduled worker can continue running even when its messages aren't succeeding.
So don't just log exceptions.
Track the result of every automated send and alert when a pattern develops:
5 consecutive rejected sends

        ↓

stop workflow

        ↓

alert operator
or:
delivery failure rate exceeds threshold

        ↓

alert
For automated workers, error visibility is part of the product.
Make duplicate sends difficult
Payment systems, serverless functions and webhooks can all retry.
Before sending:
Has order-1042-confirmation already been sent?

    │

    ├── yes → do nothing

    │

    └── no  → send + record result
Use your own event or message reference as an idempotency boundary in your database.
Watch SMS length
SMS billing is based on message parts, not just logical messages.
The Kudosity SMS response includes sms_count, and the API documentation explains the character limits for single- and multipart SMS. Unicode characters such as emoji reduce those limits significantly.
This matters when AI is generating copy.
A coding assistant or agent might happily turn:
Your order is ready: example.com/x1
into a beautifully written 350-character update with an enormous URL.
That can turn one SMS into several.
If a message contains links, the API's track_links option can shorten and track them.
A good production prompt therefore includes something like:
Keep SMS copy concise.

Before sending generated SMS:

- check message length

- avoid unnecessary Unicode characters

- use tracked links where appropriate

- expose the SMS-part count in logs or reporting
Step 9: Decide where AI actually belongs
There are two quite different ways to use AI with messaging.
AI builds the application
This is the pattern we've used throughout this article:
Claude Code / Codex / Cursor
            │
            ▼
      builds application
            │
            ▼
      deterministic rules
            │
            ▼
       Kudosity API
Once deployed, no AI decision is required to send an order confirmation.
For many applications, that's exactly what you want.
AI operates inside the application
The second model looks more like:
Customer event
      │
      ▼
   AI agent
      │
      ▼
Business rules + consent
      │
      ▼
Messaging tool
      │
      ▼
   Kudosity
      │
      ▼
Delivery / inbound event
      │
      └────────► agent or application
We're already seeing customers build workflows of this kind, including lead-follow-up agents and two-way sales conversations.
Here the AI isn't merely writing the software.
It's participating in the workflow.
That requires tighter controls around what it can send, to whom, how often and under what circumstances.
Step 10: Choose the AI integration that matches the job
Kudosity exposes several ways for AI tools and applications to work with messaging.
Claude Code, Cursor and other MCP clients
Use the Kudosity MCP Server.
The installable MCP server exposes messaging, contacts, webhook, account and live API-discovery tools. It can be used by MCP-compatible clients including Claude Code, Claude Desktop, Cursor and Windsurf.
This is the route we'd recommend when an AI coding assistant is helping build a normal application.
Claude Code
Kudosity also provides a dedicated Claude Code Plugin.
It can send messages, manage contacts and configure messaging workflows from Claude Code using natural-language instructions.
It's useful for prototyping, experimenting with the API or building directly from Claude Code.
Vercel AI SDK
If your Next.js application actually contains an AI agent, use the Kudosity Vercel AI SDK tools.
The ai-sdk-kudosity package provides messaging and delivery tools that can be registered directly with a Vercel AI SDK agent. The agent can send messages and then retrieve delivery results, while application configuration can provide defaults such as the sender rather than allowing the model to invent them.
LangChain
For LangChain.js applications, use the Kudosity LangChain tools.
This is useful when messaging is one capability inside a broader agent workflow.
Direct API
You don't have to use an AI-specific package at all.
The same application can simply use the normal REST APIs.
That's often the right production architecture even when Claude Code or Codex wrote most of the integration.
Already using Shopify?
You may not need Next.js, Stripe or a new product database.
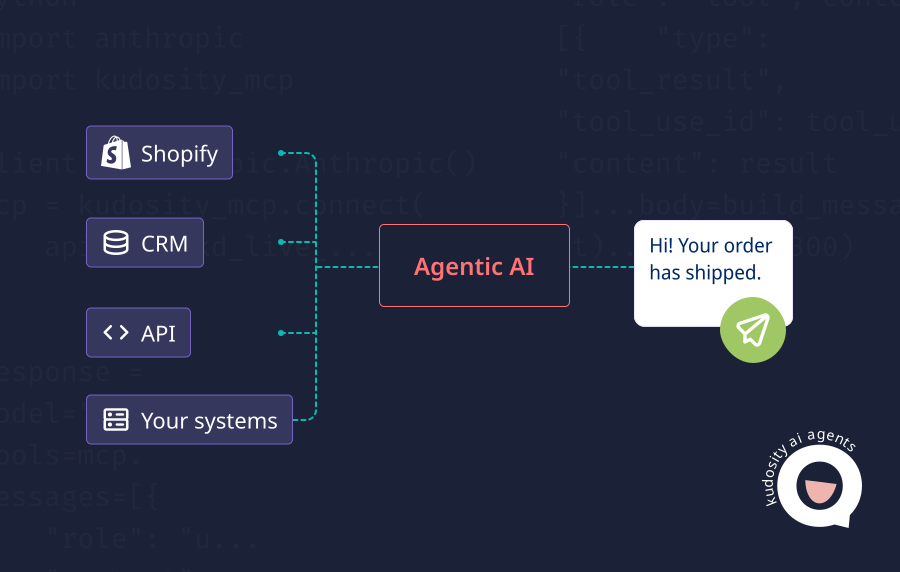
If Shopify already owns your products, customers and orders, keep it that way.
A useful AI-development setup is:
AI coding assistant
   │
   ├────────► Shopify context
   │            ├── products
   │            ├── customers
   │            └── orders
   │
   └────────► Kudosity
                ├── messaging
                ├── replies
                └── delivery events
That separation is useful.
Shopify remains the source of truth for commerce.
Kudosity remains the messaging layer.
Your AI assistant can then help build workflows such as:
When an order is fulfilled:

└── send the customer a delivery SMS.When a customer replies:
└── associate the inbound SMS with their order.When a promotion starts:
└── message only customers with valid marketing consent.You don't need to make one integration own the entire workflow.
Australian sender IDs
If you're building for Australia, sender choice also matters.
A message can come from a phone number or from a branded alphanumeric sender such as your business name.
Since 1 July 2026, Australia's SMS Sender ID Register has applied to branded sender IDs. Unregistered branded sender IDs can be replaced with Unverified. Messages sent from ordinary phone numbers aren't subject to the sender-ID registration requirement.
See ACMA's current Sender ID guidance.
If you need two-way SMS, you'll generally want a reply-capable number rather than an alphanumeric sender anyway.
Don't let your AI assistant simply invent a sender value.
Treat sender configuration as infrastructure.
Give your AI assistant documentation it can actually read
Kudosity's developer portal publishes an llms.txt index for AI assistants, Markdown versions of documentation pages and OpenAPI specifications for API discovery.
That gives coding agents several ways to understand the platform:
Human documentation
       │
       ├── Markdown
       ├── llms.txt
       ├── OpenAPI
       │
       └── MCP
              │
              ▼
        AI coding assistant
So instead of relying entirely on what an AI model remembers about an SMS API, you can point it toward the current source material.
That reduces one of the most common problems with AI-generated integrations: plausible-looking code written against the wrong API.
Start with one message
You don't need to build all of this on day one.
A sensible path is:
Connect your AI assistant to the current Kudosity developer resources.
Send one test SMS to yourself.
Put the send behind a server-side function.
Trigger it from a test order.
Store the result.
Add delivery webhooks.
Add inbound messaging.
Add opt-outs.
Add monitoring and loop protection.
Add the marketing workflow.
Only then consider giving a runtime AI agent permission to message customers.
Start with the Getting started with AI guide.
Then follow Get your first message working with your AI assistant.
When you're ready to build the workflow into an application, the Send messages from AI agents and workflows guide includes runnable examples for messaging use cases such as order updates and reminders.
The working examples are also available in the kudosity/ai-agent-examples GitHub repository.
The final architecture
For this example, the finished application is still deliberately boring:
Next.js
   │
   ├── Supabase
   │      ├── customers
   │      ├── consent
   │      ├── orders
   │      └── Edge Functions
   │
   ├── Stripe
   │      └── payment events
   │
   └── Kudosity
          ├── SMS API
          ├── delivery status
          ├── inbound SMS
          └── opt-outs
That's a feature, not a limitation.
The AI coding assistant helped you get there faster.
It had access to current messaging tools and documentation while doing it.
But once deployed, your application still controls who gets messaged, why they're being messaged, what they're allowed to receive and what happens when something goes wrong.
That's the difference between getting AI to send an SMS and using AI to help build a messaging integration that's ready for production.
Explore the Kudosity developer portal
Integrate SMS and MMS into your applications with our flexible API. Our REST SMS API allows seamless integration of SMS capabilities into your applications, whether you're launching a new app or enhancing an existing one.
FAQs
Yes. Claude Code can implement a normal REST API integration, and connecting it to the Kudosity MCP server gives it access to current API specifications and messaging tools.
Use the Kudosity MCP Server guide or install the Claude Code Plugin.
Yes. The underlying SMS API is a standard REST API, so an AI coding agent can implement it directly. MCP-compatible clients can additionally use the Kudosity MCP server to discover the current messaging APIs and their schemas.
Yes. A Supabase Edge Function can call the Kudosity REST API server-side using an API key stored in environment variables.
This pattern keeps messaging credentials out of the browser and works well for event-driven workflows such as orders, bookings and scheduled jobs.
Yes. Next.js can call Kudosity from server-side routes or functions, or delegate messaging to a backend such as Supabase.
If you're also building an AI agent into a Next.js application, the Vercel AI SDK integration provides ready-made messaging tools.
Yes. An AI agent can be given a controlled messaging tool and allowed to send when its workflow determines that messaging is appropriate.
Kudosity provides MCP, Vercel AI SDK and LangChain integrations for this pattern.
The important part is to put consent, sender configuration, rate limits, loop prevention and error handling around the agent rather than giving it unrestricted messaging access.
No. AI can simply help you build the application.
The deployed application can continue to trigger SMS deterministically from events such as payments, orders, appointments or deliveries.
Start with Getting started with AI and connect your coding assistant.
Then use Get your first message working with your AI assistant to send and verify a test message.
From there, use the working messaging examples and the API references to build the workflow into your application.
Get ready for Australia’s SMS Sender ID Registry
From July 2026, Sender ID registration will be required. ACMA’s final steps are still in progress, but Kudosity will keep you informed and help you be ready when registration opens.